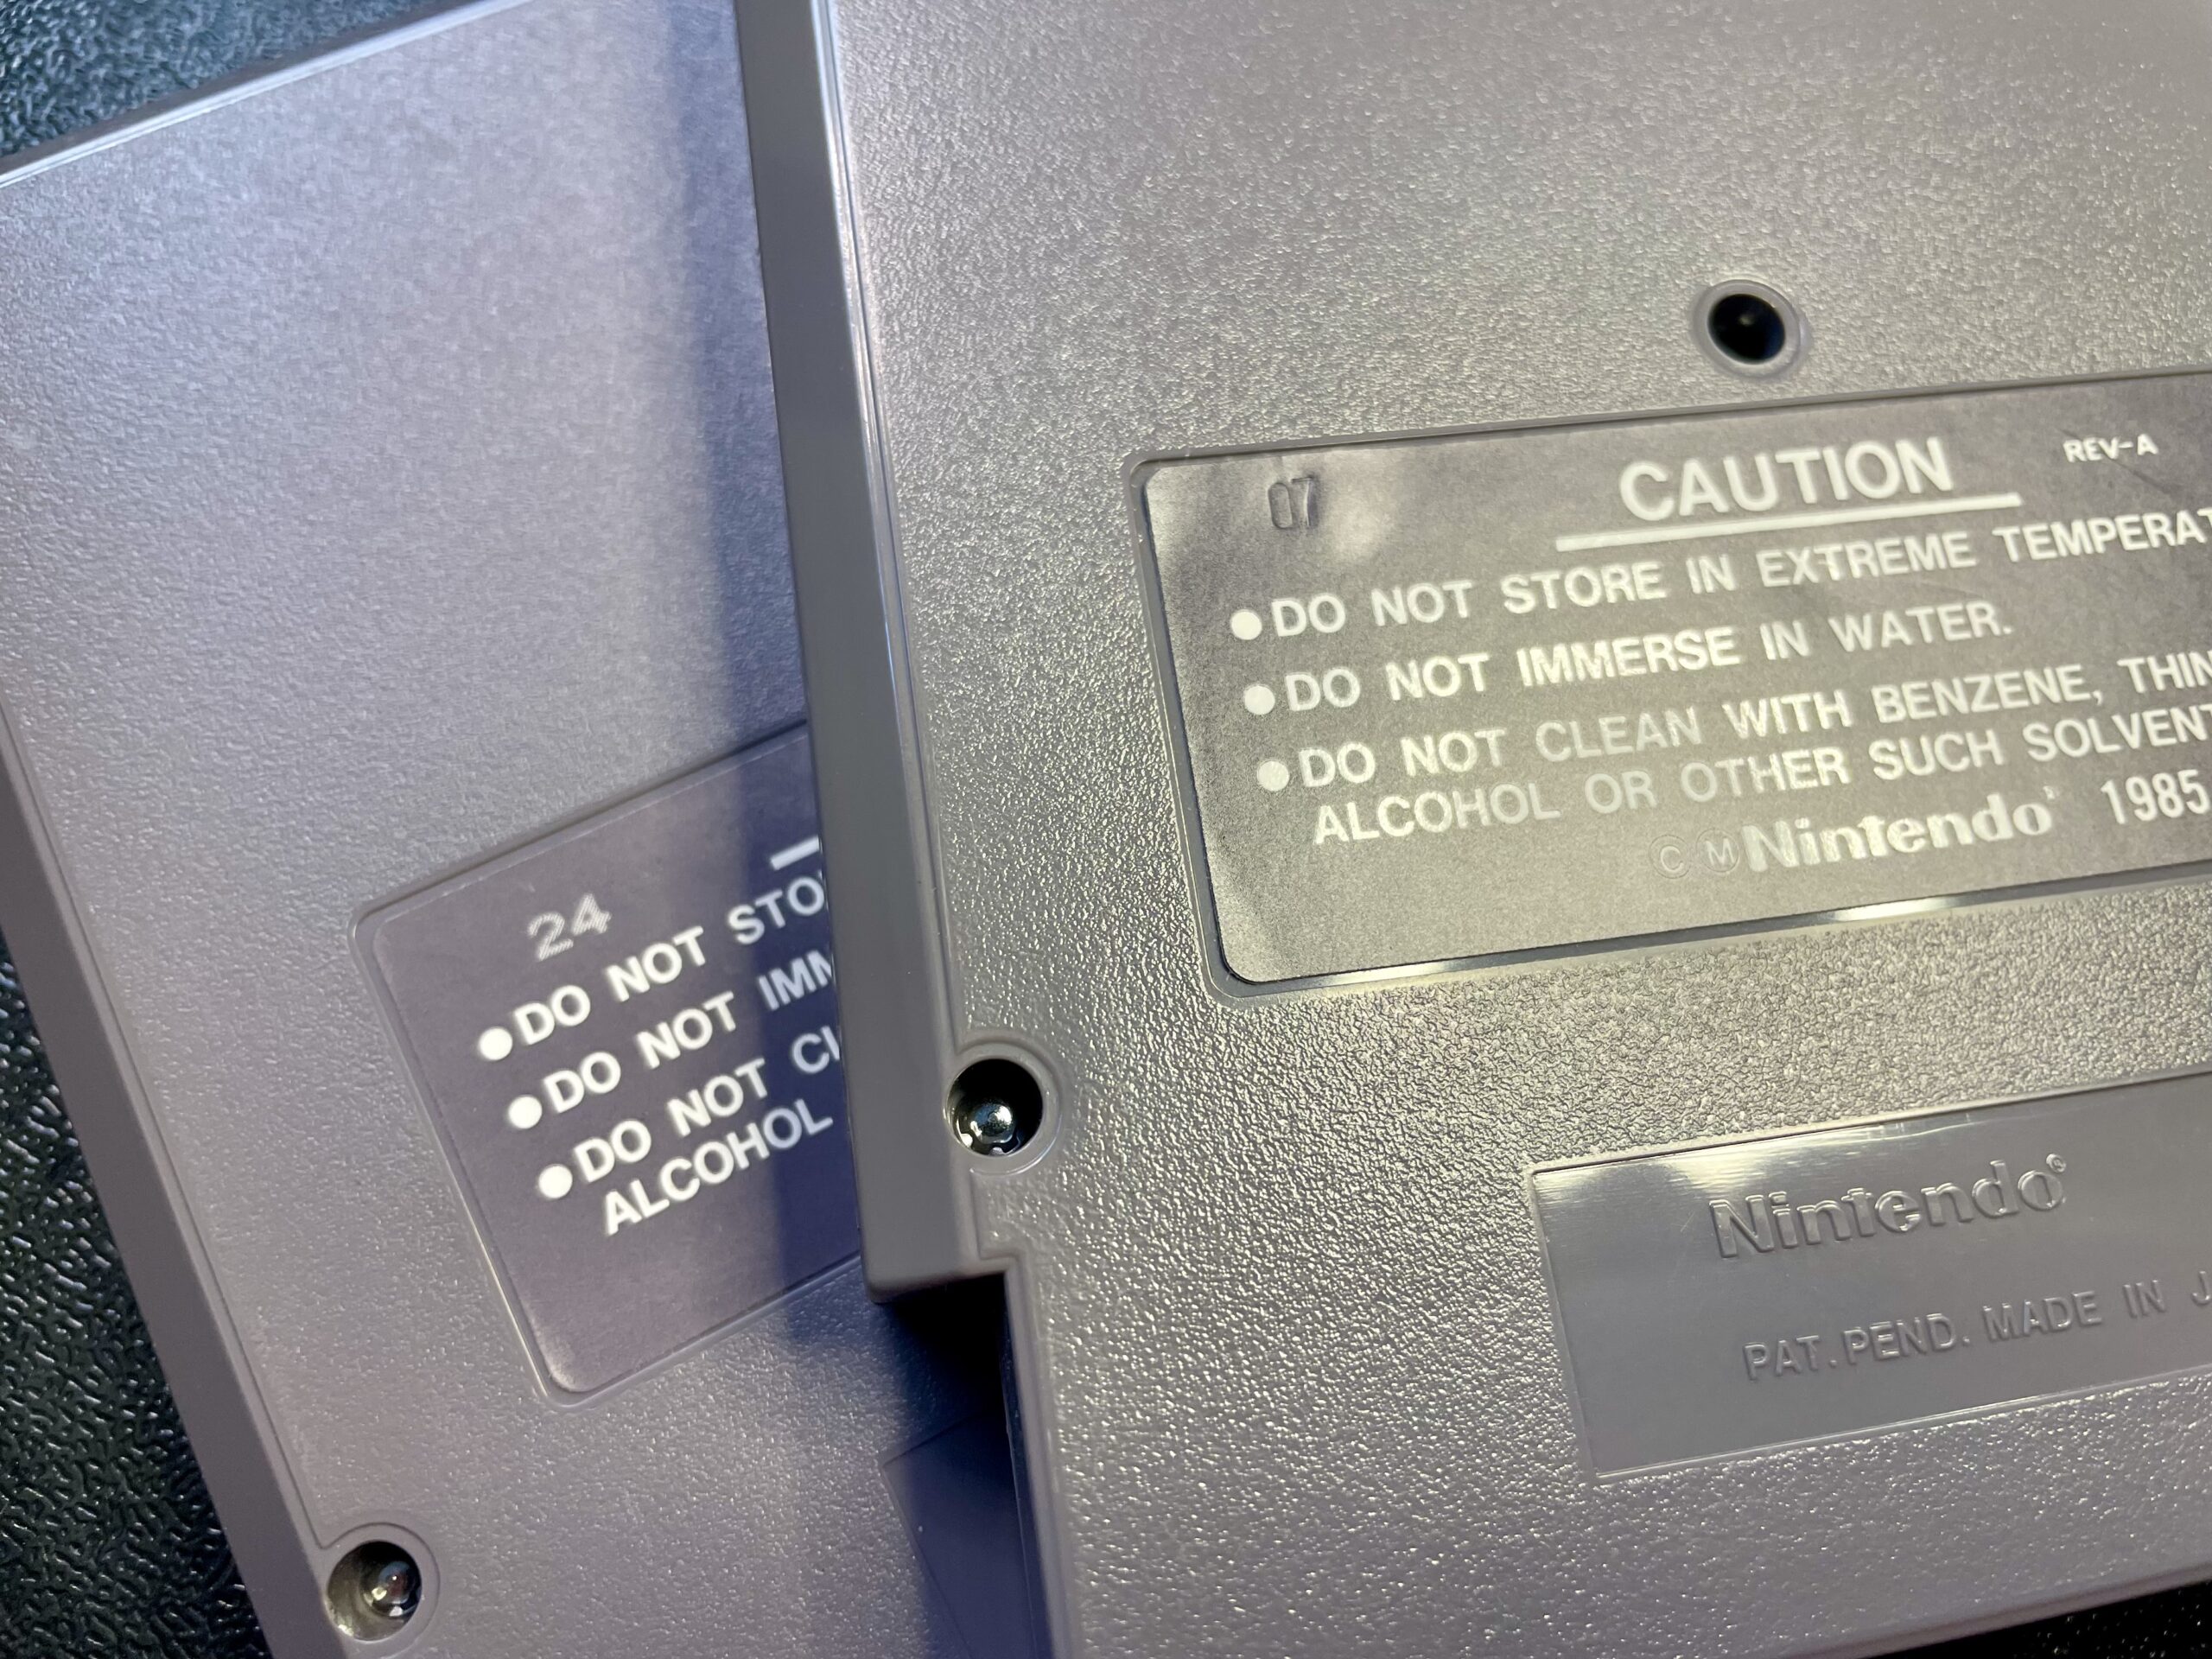
The number that’s printed or embossed (on the back of a Nintendo game) indicates which quality control station checked the game at the factory. Most often the number is embossed however, some Publishers were allowed to manufacture their own games (like Kanomi) and chose to print them on the label.

First, we open the case and dust inside. Then, we inspect for broken and/or missing parts. We service the 72 pin connectors in a few different ways. First, we use 1up Cleaner and if that doesn’t fix the connection, we boil them (sounds weird but it works). If all else fails, we’ll replace them with an aftermarket pin connector. We clean the shells of our consoles with technical grade isopropyl alcohol, all-natural orange cleaner, magic erasers, toothbrushes, cotton swabs, and microfiber cloths.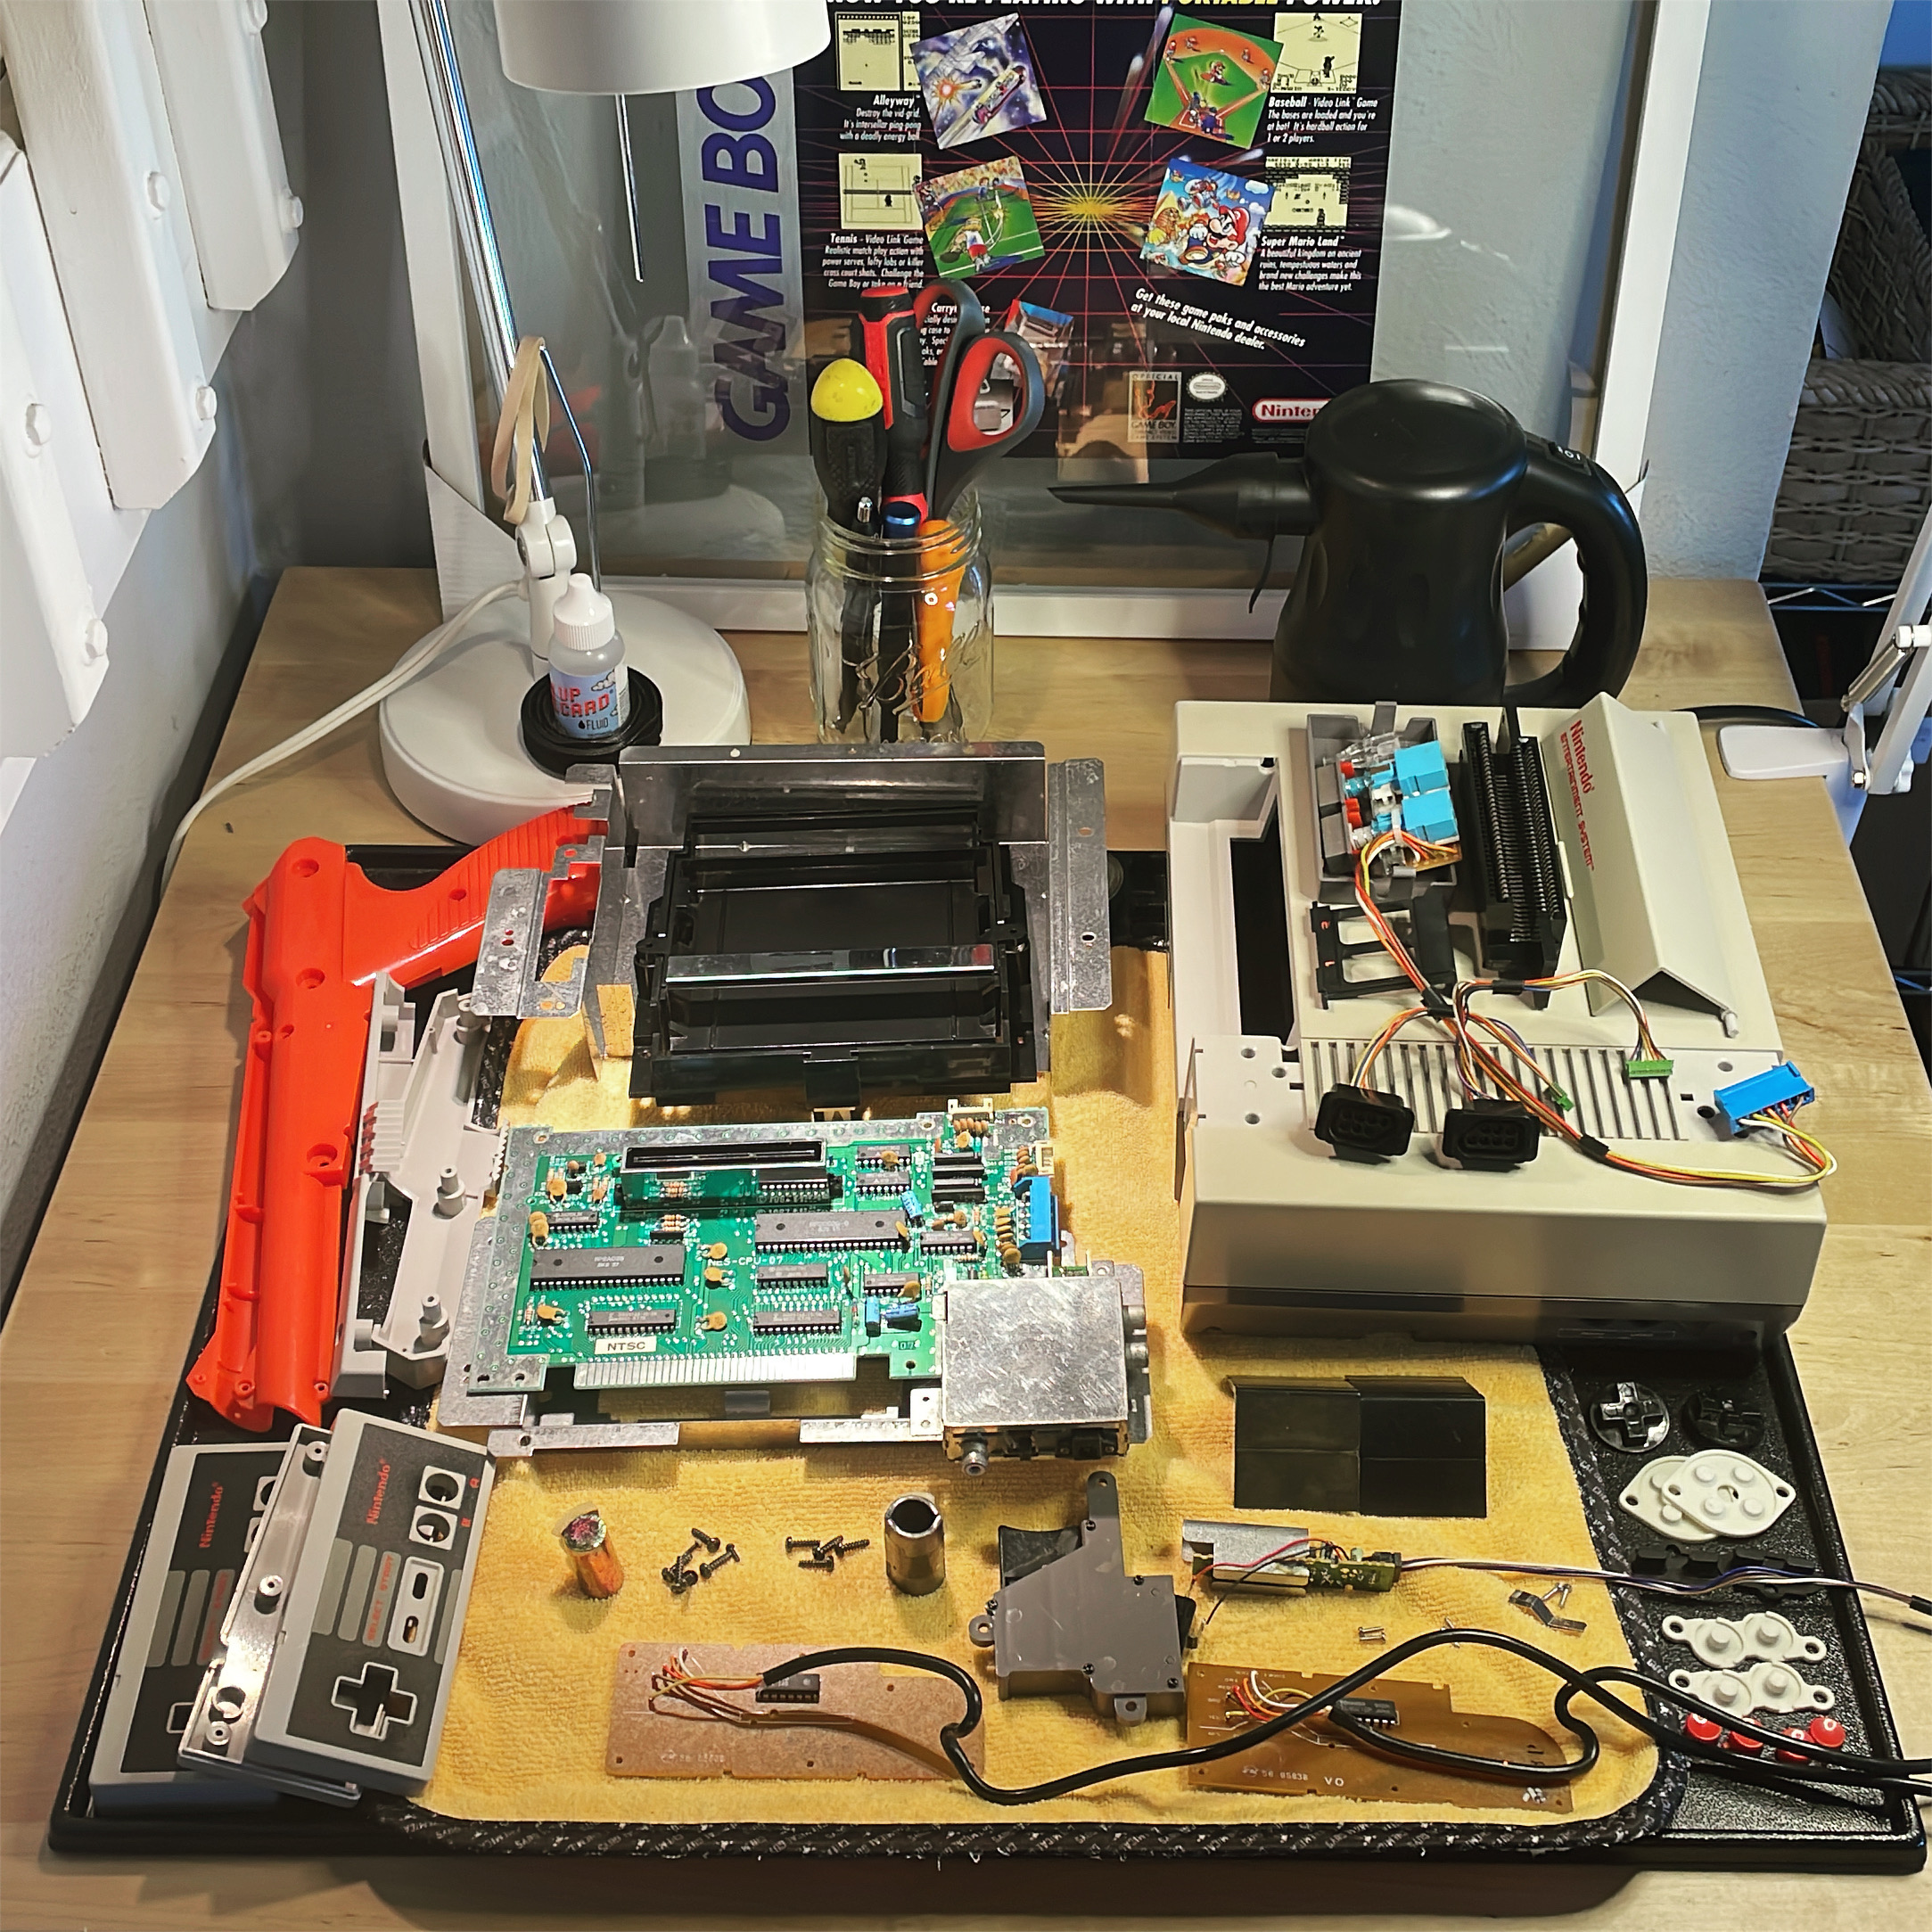
The best way to authenticate a Nintendo (NES – N64) game is to use a security bit driver to open the case. Once open, you can inspect the board. You’ll be looking for a date (year) and the word “Nintendo” which is typically printed in gold. The board should also contain raised ROM chips that are soldered to the board. In some rare cases, Nintendo did produce “glob” boards on early versions of a few games.
You will also want to inspect the label which should be a high-quality, medium-glossy, finish. The game shouldn’t look new and show some signs of aging, possibly including the smell. You can also compare the label to a known authentic label.
There are other factors to consider when authenticating a game too (texture, weight, etc.) but opening it up, and closely inspecting the front label are among the most reliable methods.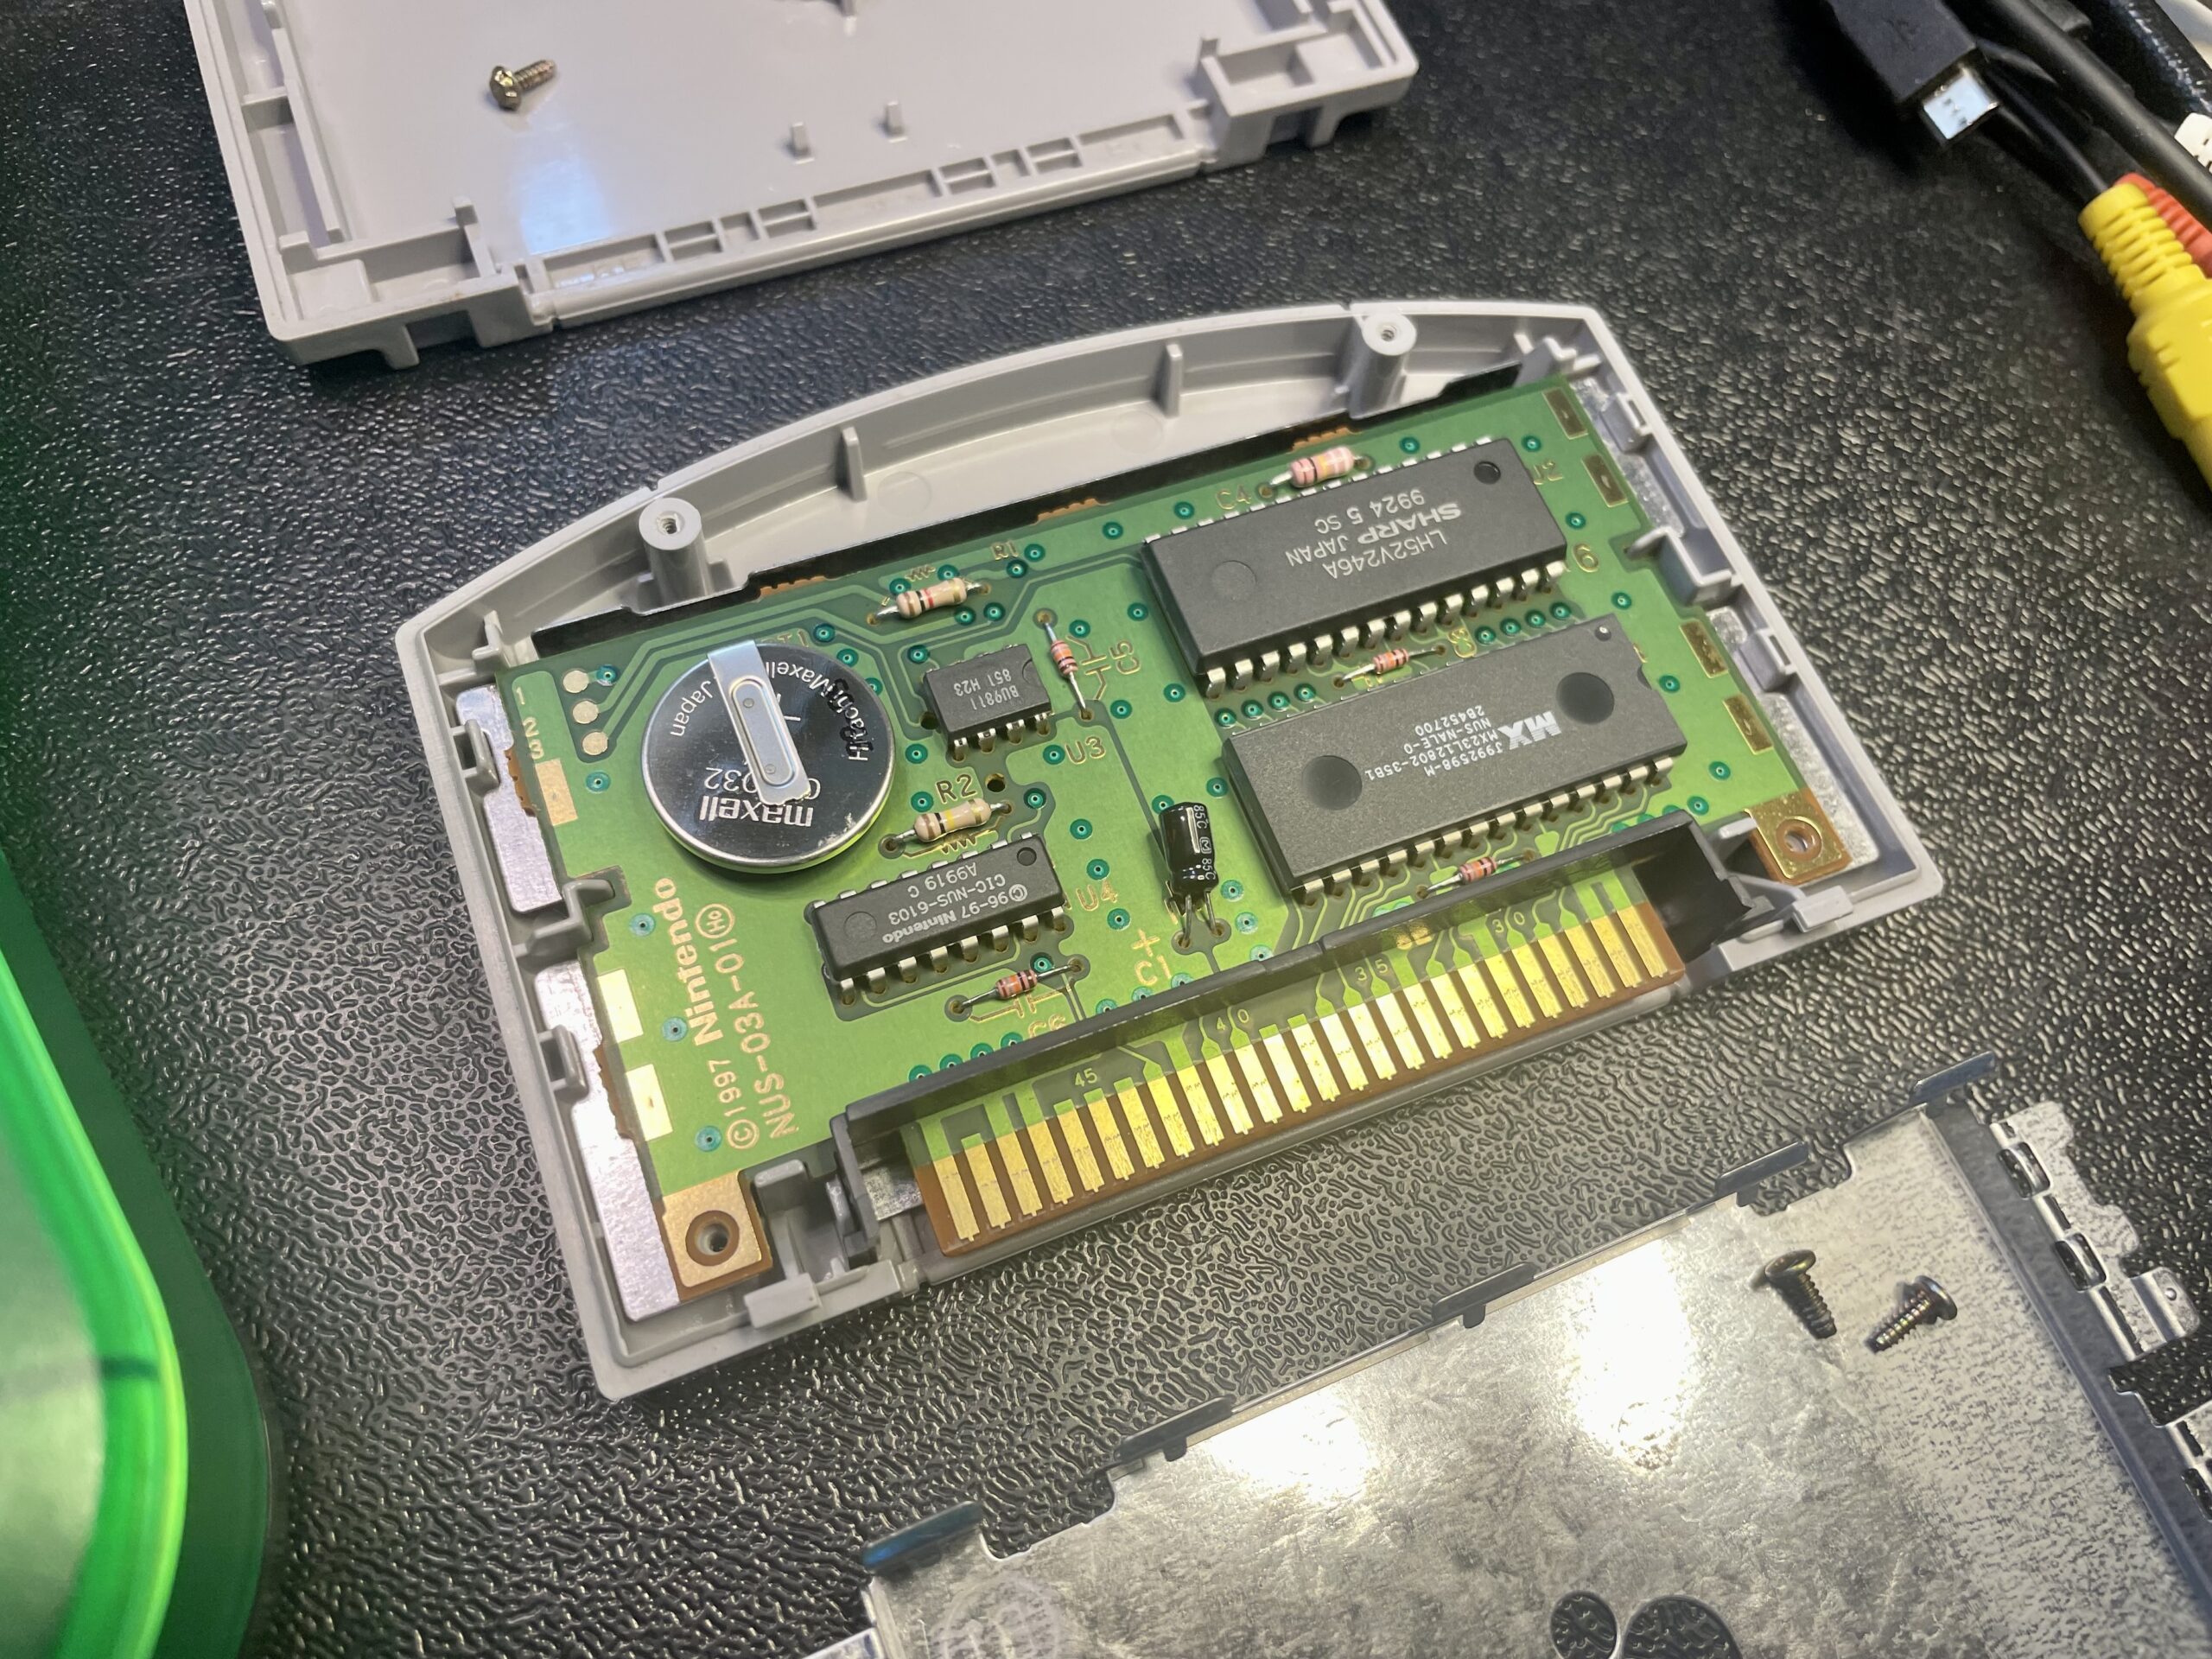
A blinking red light on the front of your Nintendo indicates that there is a bad connection between the game cartridge and the 72-pin connector. There is most likely some type of contaminant (e.g. dust) preventing a solid connection.
The easiest thing to try to fix this issue is blowing into the bottom of the game cartridge. You can also try inserting and removing the game(s) multiple times in the Nintendo. This can help clean the pins on the game and in the system. Finally, you can also clean the game pins with technical-grade isopropyl alcohol and cotton swabs or 1 Up Cards.
If you’ve tried cleaning your game(s) and still do not receive a picture, you may need to clean the console. The easiest thing to try is a 1 UP Nintendo NES 72-pin connector cleaner. Simply insert and remove the cleaner into your console multiple times. If this still doesn’t work, you can try boiling, or replacing your 72-pin connector entirely with an aftermarket connector.
Gold labels on the back of a Nintendo NES cartridge indicate that the game contains a battery -for saving the game.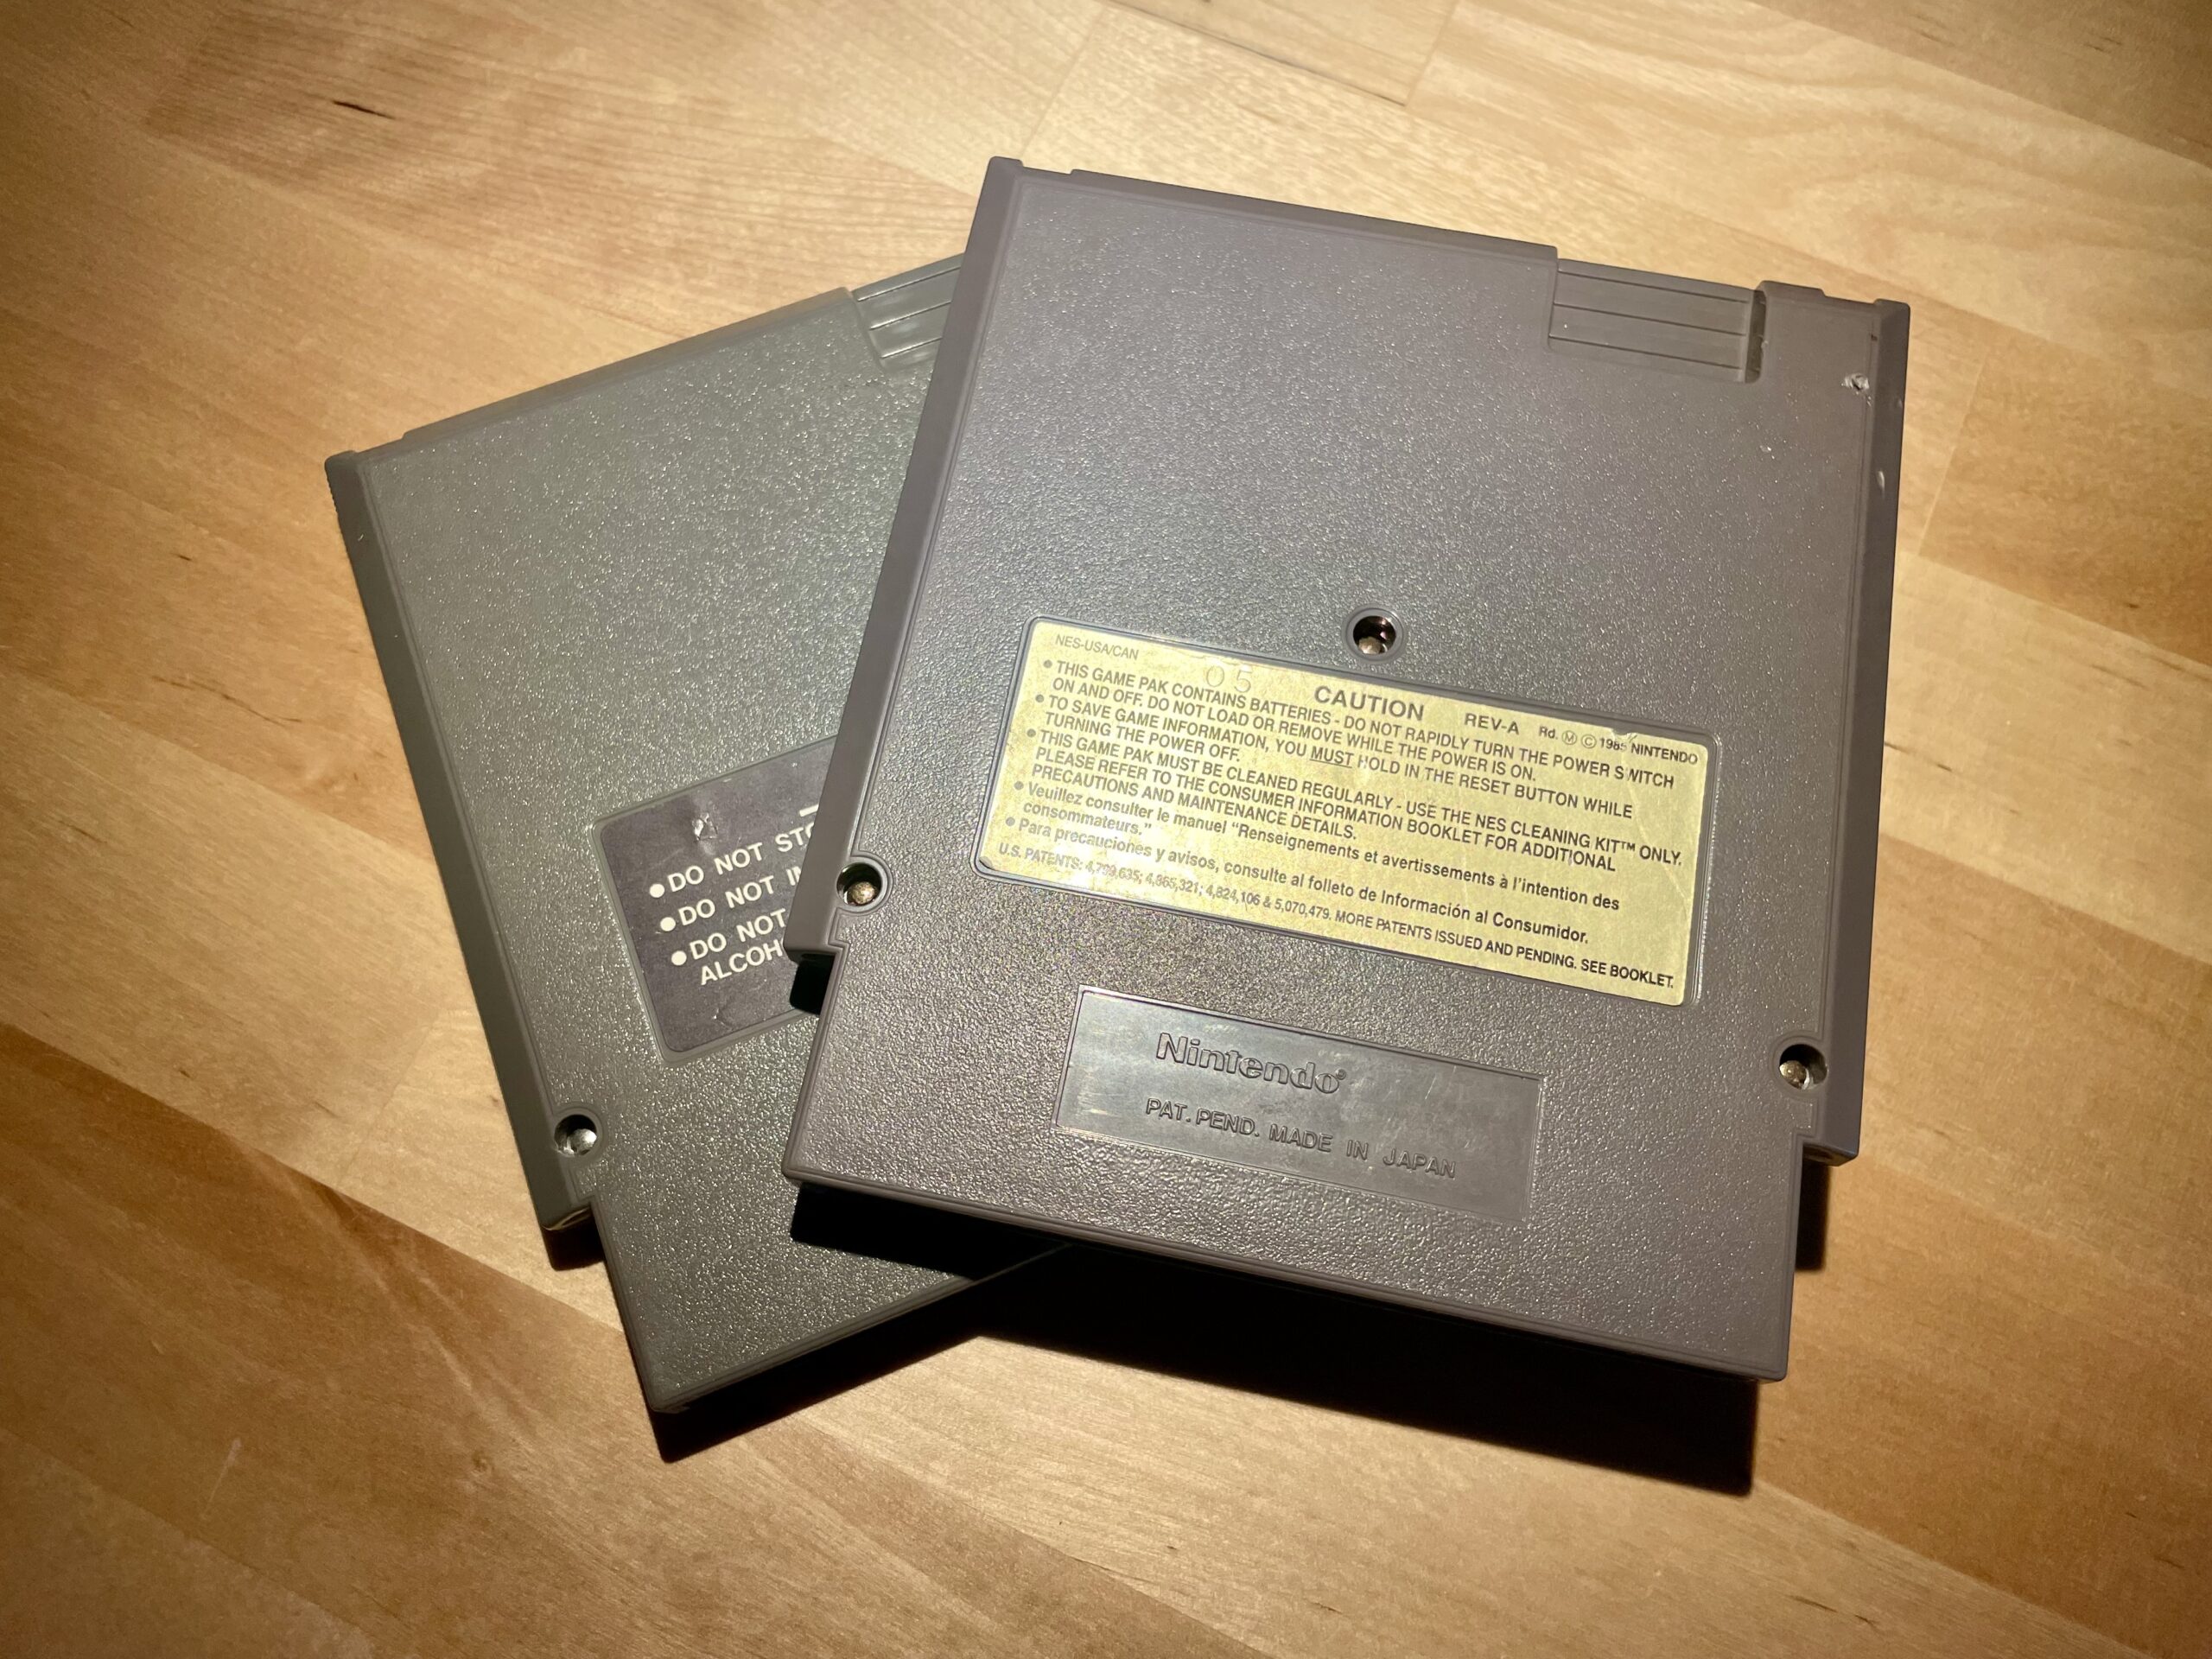
Most of our products (unless noted) may show some minor signs of wear that are common due to their age and use over time.
Blemished products may have discoloration, chips, scratches, torn labels, etc., and are offered at a discounted price.
All of our products are tested and guaranteed to work regardless of their cosmetic condition.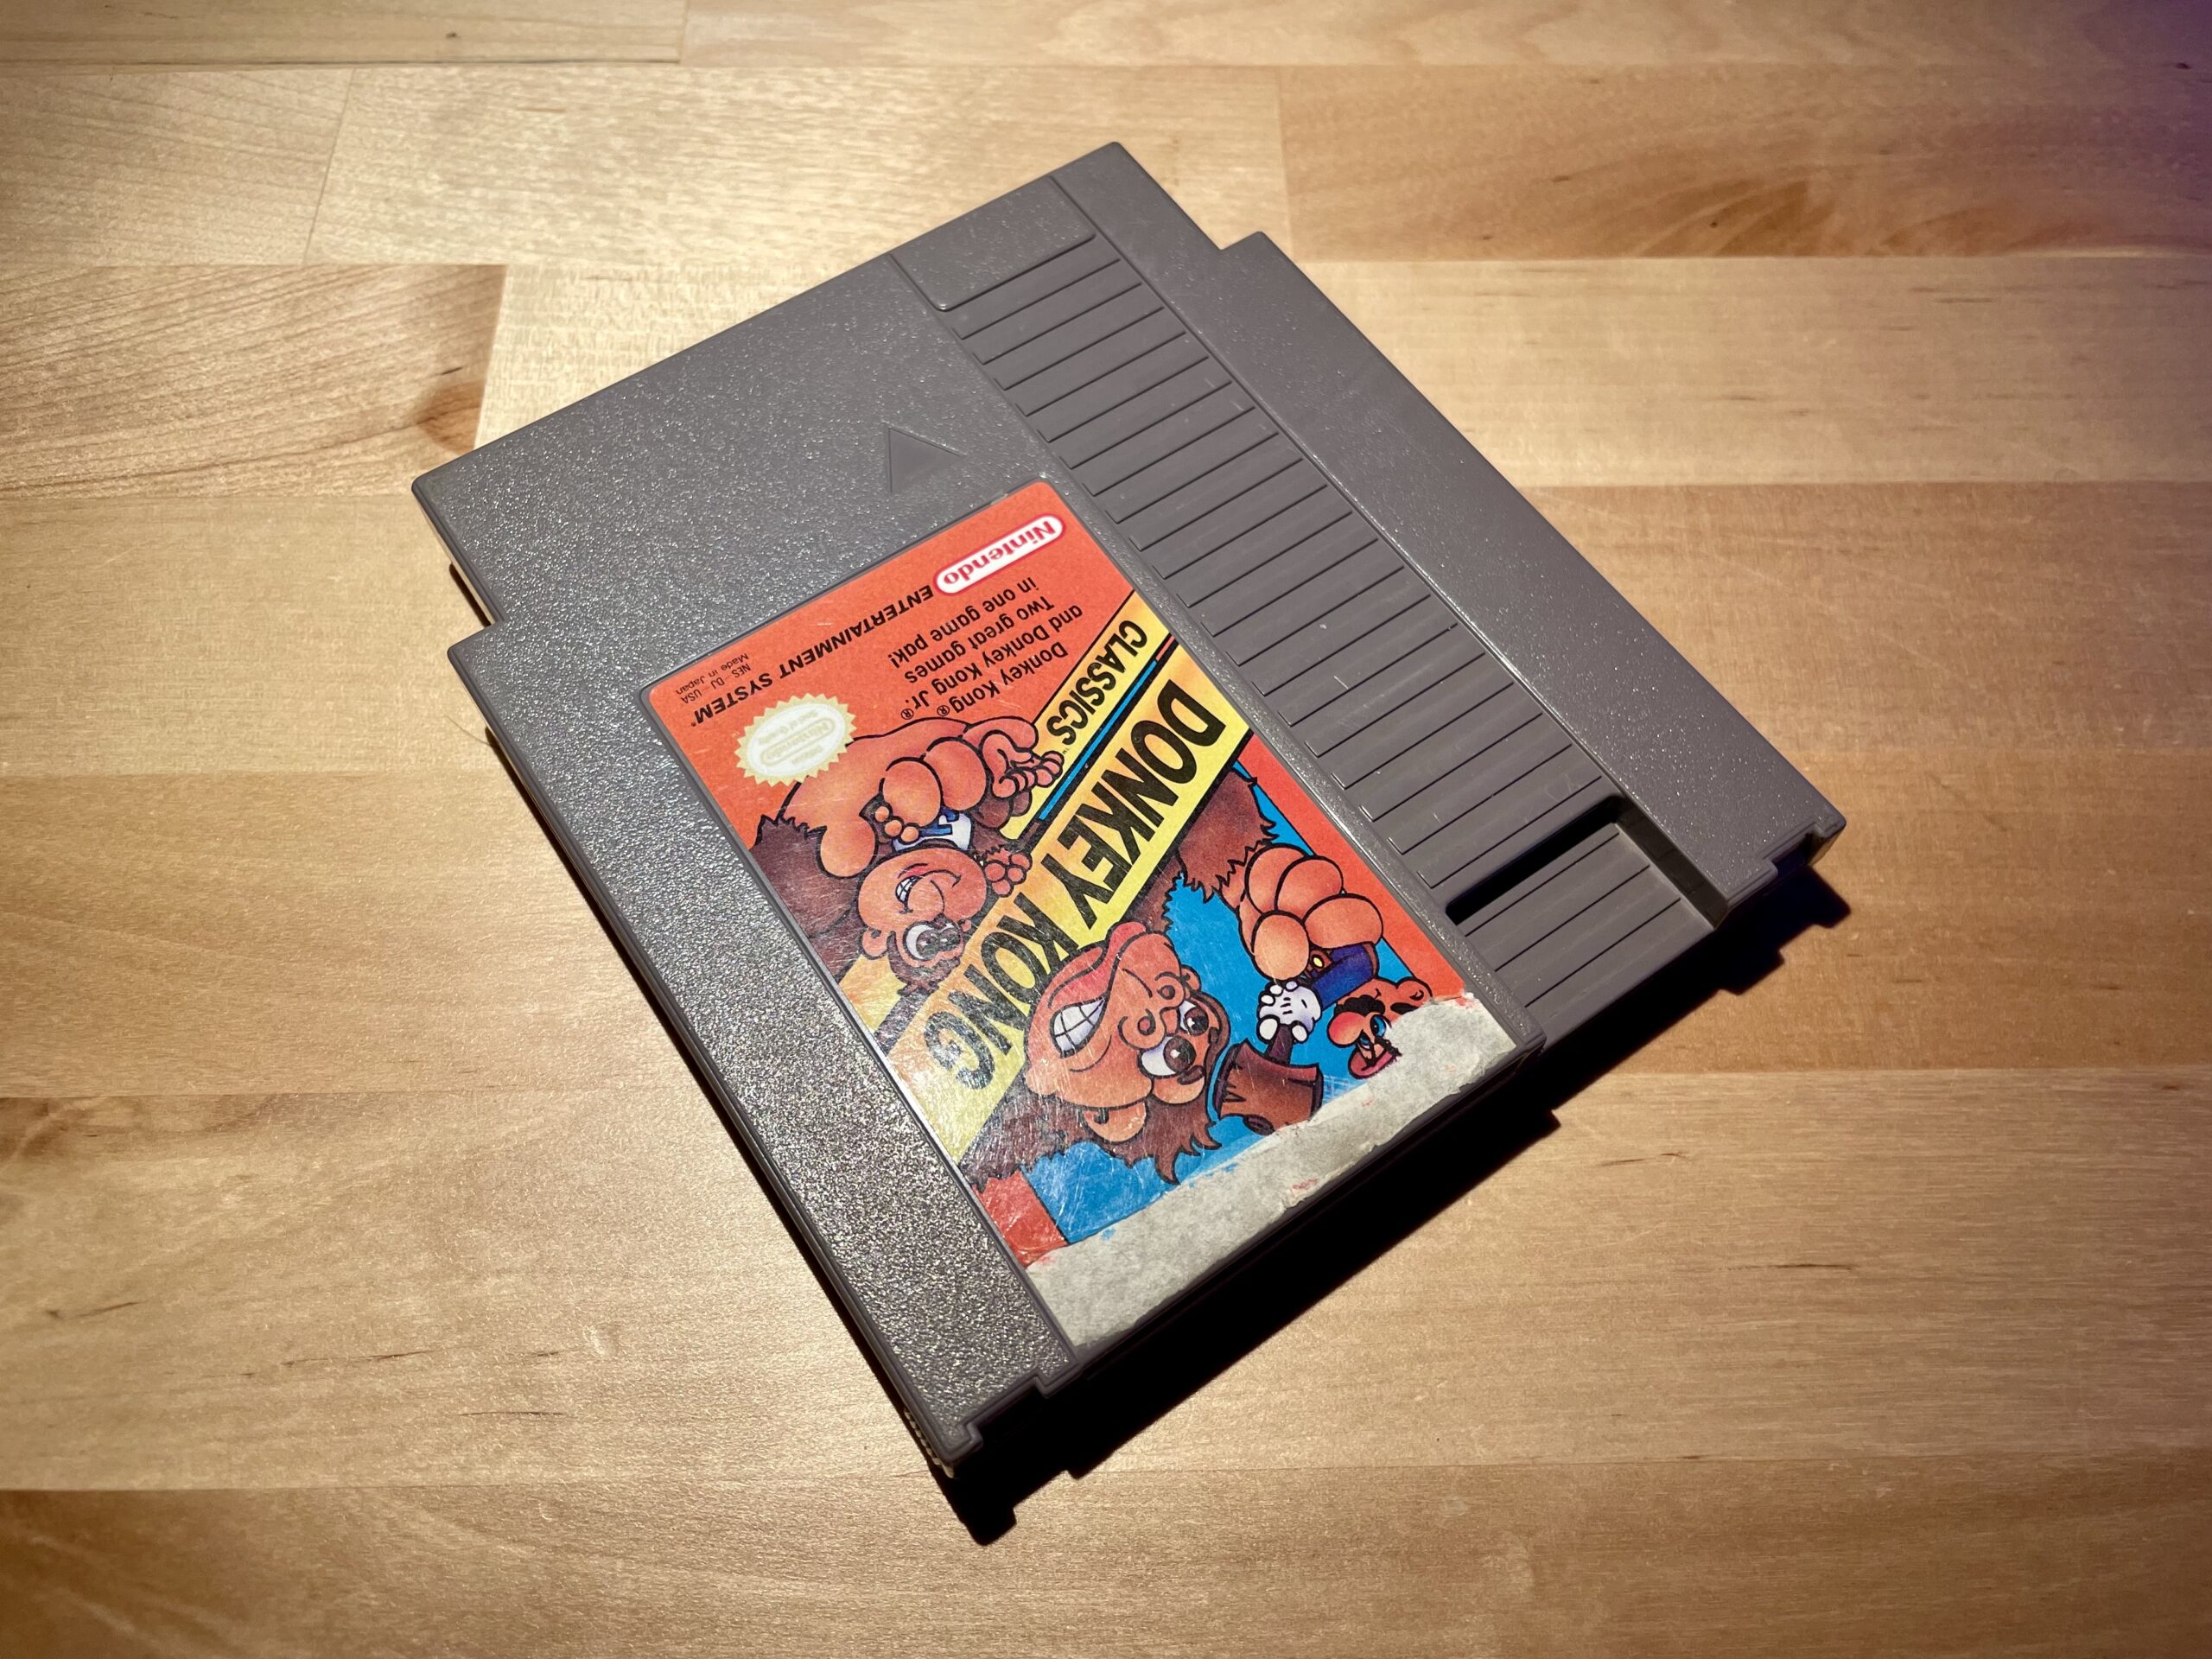
No, you cannot use candles as a substitute for the Wii sensor bar. The Wii sensor bar is an important component of the Wii console’s motion tracking system. It emits infrared light that is picked up by the Wii remote (controller) to determine its position and movements. Candles do not emit the same type of infrared light, and while they can be detected by the Wii remote, they will not provide accurate motion tracking.
If you’re experiencing issues with your Wii sensor bar, it’s best to troubleshoot the problem or consider replacing the sensor bar with a compatible one. Using alternative methods, such as candles, will not provide the necessary functionality for accurate motion tracking on the Wii console.
Spotting a fake Pokémon Game Boy Advance (GBA) game can be challenging, but there are several indicators that can help you identify counterfeit copies. Here are some tips to consider:
Cartridge back: Flip-over your game cartridge and inspect the the the top left corner. If the game does not have these four gold rectangles (similar to a window) on the circuit board then it’s a counterfeit.
Packaging: Examine the packaging for any signs of poor print quality, blurry images, or inconsistent colors. Look for any misspellings, incorrect logos, or missing official Nintendo logos and seals of authenticity.
Cartridge label: Authentic Pokémon GBA games have high-quality labels with clear, vibrant graphics. Check for any signs of poor printing, smudged images, or faded colors. Look for any inconsistencies in the Pokémon logo, font, or artwork.
Cartridge font: The font used on the cartridge label should match the official Pokémon games. Counterfeit copies often have slightly different fonts, such as thicker or thinner letters.
Game code: Each Pokémon GBA game has a unique game code imprinted on the label, typically near the bottom. Compare the game code on the cartridge to the official codes for the specific game you are examining. If it doesn’t match or looks suspicious, it could be a fake.
Holographic sticker: Some Pokémon GBA games have a holographic sticker on the label, which adds an extra layer of authenticity. Counterfeit copies may have poor-quality or non-existent holographic stickers.
Gameplay: Counterfeit Pokémon GBA games may have glitches, freezing issues, or missing features. If possible, play the game to check for any abnormalities or inconsistencies compared to official copies.
Price and source: If a deal seems too good to be true, it might be an indicator of a fake game. Be cautious when purchasing from unofficial or unknown sources, particularly online marketplaces with less reliable sellers.
It’s important to note that counterfeiters can become more sophisticated over time, so these indicators may not be foolproof. If you have doubts about the authenticity of a Pokémon GBA game, it’s best to consult with experts, compare it to reliable sources, or purchase from reputable sellers.
Duck Hunt is a classic video game released for the Nintendo Entertainment System (NES) in 1984. It was played with the NES Zapper, a light gun accessory. Here’s how Duck Hunt works:
Duck Hunt is designed to be played on a Cathode Ray Tube (CRT) television. CRT televisions work by projecting an electron beam onto the screen, and the NES Zapper utilizes this technology to function.
When you pull the trigger on the Zapper, the screen momentarily turns black, and a white square appears around the ducks. At this moment, the Zapper detects changes in light intensity. If the Zapper’s light sensor detects a quick decrease in light intensity (indicating that you aimed at a duck and hit it), the game registers it as a successful shot.
It’s worth noting that Duck Hunt’s technology relies on the specific interaction between the NES Zapper, CRT television, and the game software. If you attempt to play Duck Hunt on a modern flat-screen television or emulator, the light gun functionality may not work correctly due to the differences in technology.
Yes, you can play GameCube games on a Wii console. The first generation Wii is backward compatible with GameCube games, meaning it can play both Wii and GameCube game discs.
To play GameCube games on a Wii, you will need a GameCube controller. The Wii console has four ports on the top that are compatible with GameCube controllers.
If you want to save your progress in GameCube games, you’ll need a GameCube memory card. The Wii does not have internal storage for GameCube game saves, so you’ll need to insert a GameCube memory card into one of the memory card slots on the top of the Wii console.
Insert the GameCube game disc into the disc slot on the Wii console. The Wii will recognize the GameCube game and allow you to play it. Once the GameCube game is loaded, the Wii console will prompt you to select whether you want to play it with a GameCube controller or a Wii Remote. Choose the GameCube controller option, and you can then proceed to play the game using the GameCube controller.
It’s important to note that not all Wii models are compatible with GameCube games. The original Wii models (known as the “Wii RVL-001”) have slots for GameCube game discs and memory cards, ensuring compatibility. However, the later Wii models (such as the Wii Mini or certain Family Edition models) do not have GameCube compatibility.
Setting up an original Nintendo Entertainment System (NES) involves a few simple steps. Here’s a guide to help you get started:
Begin by unpacking the NES console and its components. Our standard NES bundle includes the main console unit, two controllers, a zapper light gun, Super Mario Bros/Duck Hunt game, an AC power adapter, and an audio/video cable.
First, we’ll connect the power adapter. Locate the rectangular slot on the back of the NES console labeled “AC.” Plug one end of the AC power adapter into this slot. Connect the other end of the AC power adapter into a power outlet or surge protector.
Next, it’s time to setup the audio and video. Connect one end of the audio/video cable (which has a yellow and red connector) to the corresponding AV output port on the back of the NES console. Plug the other end of the audio/video cable into the AV input port on your television. Ensure that you match the colors correctly, connecting the yellow cable to the yellow port, etc.
Now, we’ll setup the controllers. The NES has two controller ports, allowing you to play games with a friend. Connect the NES controllers to the front of the console (bottom right). Optionally, you may also connect your zapper light gun to one of the same ports.
Next, insert a compatible NES game cartridge into the slot on the top of the NES console. Ensure that the game label faces outward and is aligned properly. Gently press the cartridge down into the slot -you should hear a click when the game is seated correctly. Close the slot cover to keep dust from entering your console.
Now, it’s time to set your television to the correct input channel. Use your television’s remote or buttons to switch to the input or AV channel you connected the NES to. It may be labeled as “AV,” “Video,” or something similar.
Finally, locate the “Power” button on the front of the NES console. Press the power button to turn on the console. The red LED light on the front should illuminate, indicating that the NES is powered on. If the red light is blinking, try removing and inserting the game again. If the light still flashes, try removing the game gently blowing into the bottom of the cartridge to dislodge any dust or contaminants that may be present.
Remember that the original NES uses older technology, so it may not work with modern high-definition (HD) TVs without additional adapters or modifications. If you encounter any issues, check your connections and consult your television’s manual or online resources for specific instructions related to the AV input.
Enjoy your retro gaming experience with the original Nintendo Entertainment System!